
If you’ve ever looked at those incredibly gorgeous bathrooms in home magazines, or on Pinterest, or perhaps even in the homes of your friends and family and thought “I want to do that” but never had the nerve to go ahead and actually do it, then this article is for you.
Tiling a bathroom is no big deal once you have the right tools and materials at hand. However, tiling requires proper planning, preparation, and execution. If you are looking for tips on tiling a bathroom, then this article is what you need. It covers everything from selecting tiles to preparing the surface and applying grout. By the end of this article, you’ll be ready to prepare and tile your bathroom like a pro.
DIY Or Get Someone To Do It
If your bathroom needs tiling and you have the appetite for a DIY project then learning how to tile and doing your own bathroom could be a fun and rewarding project. But if you don’t have the time, and do have the money, you might be better off hiring a qualified tradesman. If you are looking for a tiler, this Tiling Company In North Brisbane gets great reviews from all their clients.
- Make A Plan
Planning is the first step in any construction project. You need to make sure that your design meets all of your requirements before you start working on it. This includes everything from the size of the room to the type of flooring you want to use. You also want to consider whether you want the bathroom walls to be partially or fully covered with tiles. This has a big impact on how many tiles you will need to order. Though it is rare for people to tile all the way to the ceiling, it is very visually appealing when done well.
- Choose The Tiles and Pattern
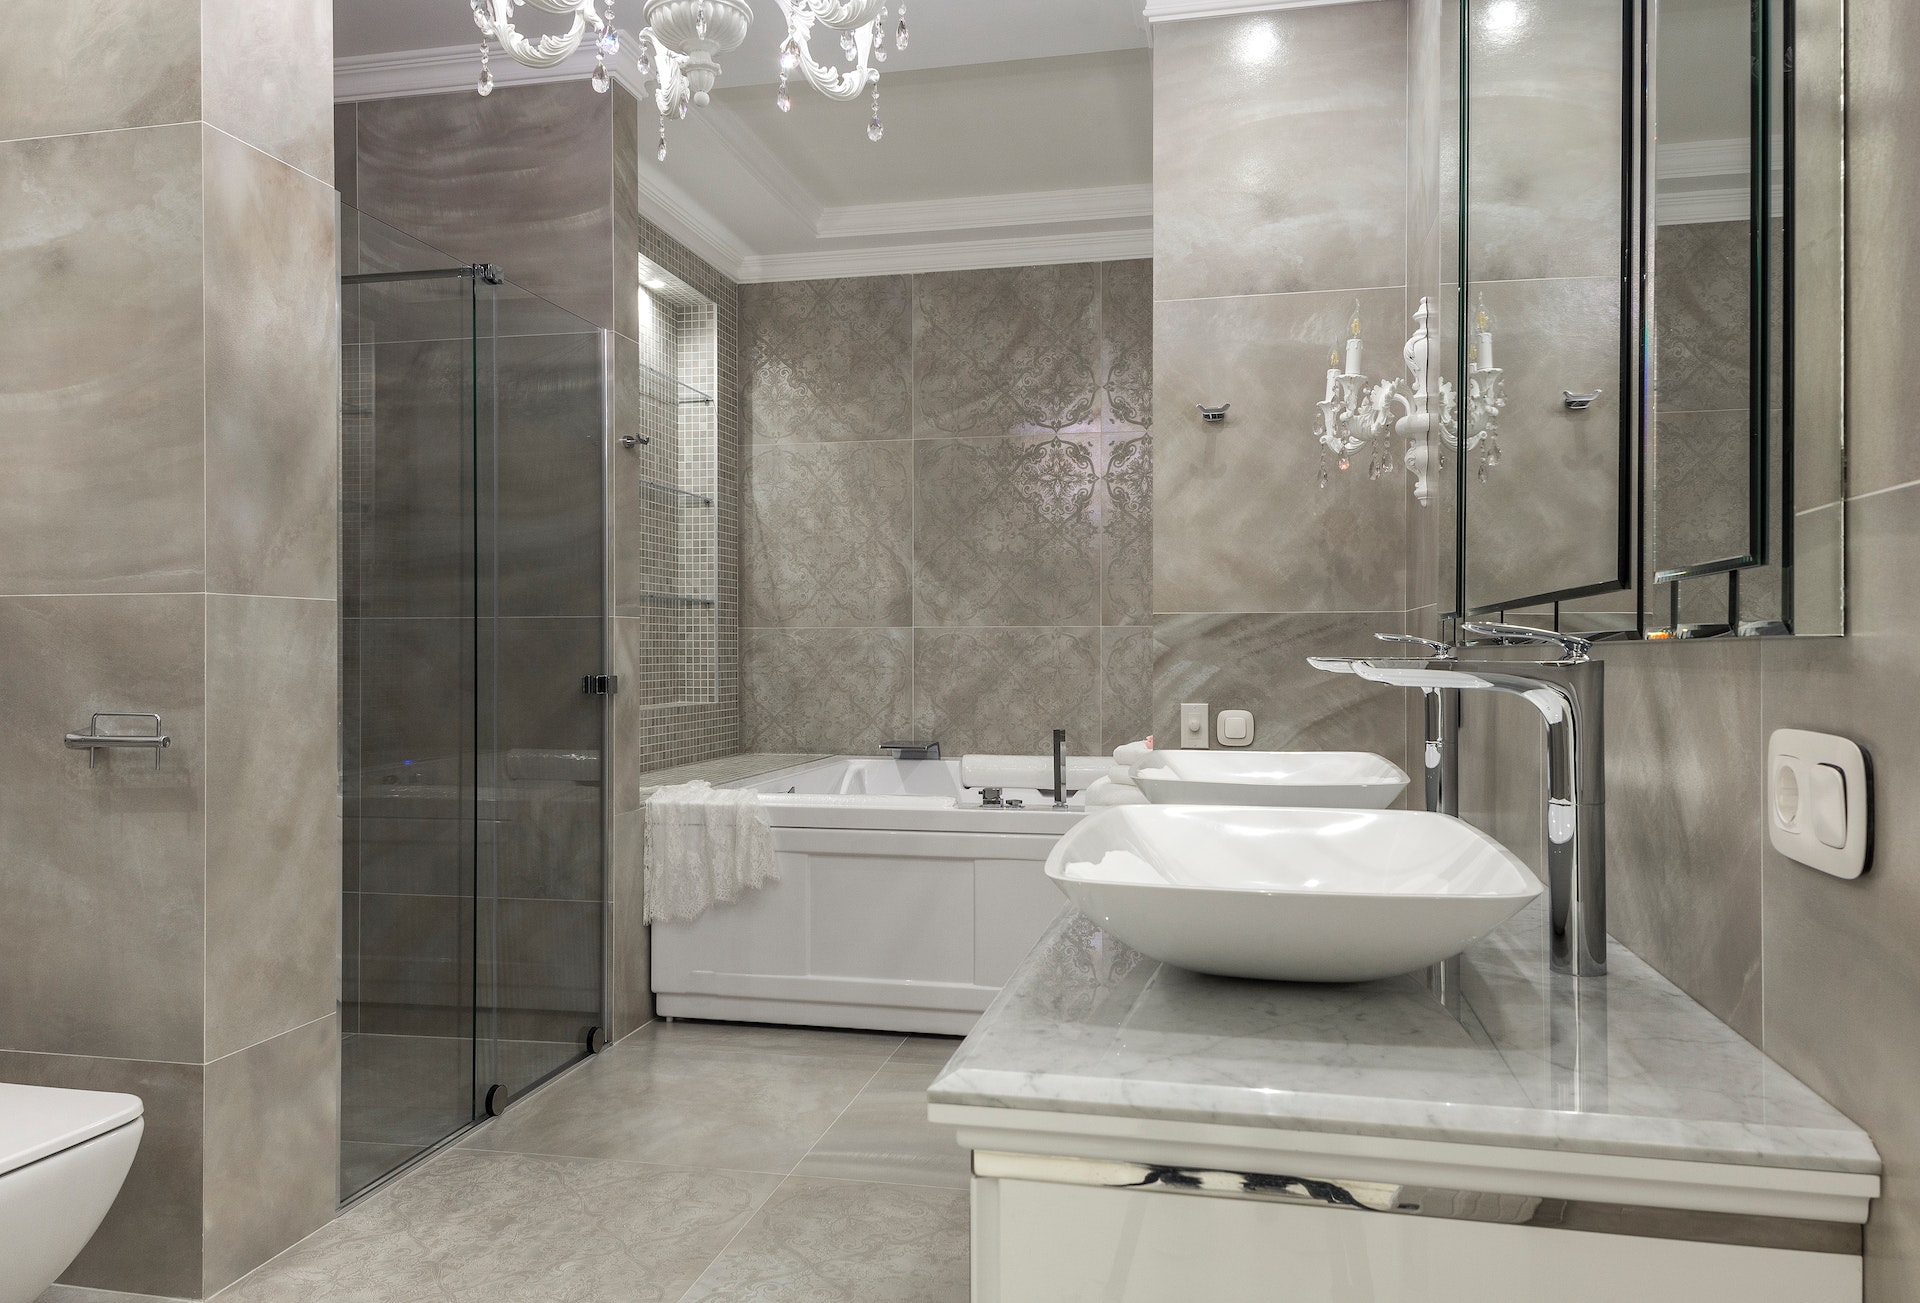
Once you know what kind of bathroom you want to create, you should choose the tiles that go well with that theme. For example, if you want to create a modern bathroom, then you should opt for white or light-colored tiles. The same goes for traditional bathrooms, where you can use dark brown or black tiles. The pattern of the tiles should match the overall look of the bathroom as well.
If you are unsure, then you can’t go wrong with simple white square tiles. They make a great foundation for any other decoration you would like to do in the bathroom, and they are easy to find at any tile supplier.
- Measure The Space
You should measure the area of the bathroom so that you can determine the exact amount of tiles needed. Remember that the more tiles you buy, the bigger the cost will be. Therefore, you should get enough tiles to cover the entire surface of the bathroom without leaving any gaps.
- Prepare The Wall
The next thing you should do is prepare the wall. You should remove any old wallpaper or paint and sand down the surface of the wall. Sanding helps to give the wall a flat but porous finish, making it easier to apply the tiles later on. Once the wall is ready, you should think of adhesive and grout options.
- Apply The Adhesive
After preparing the wall, you should now move on to applying the adhesive. There are different types of adhesives available, like silicone, epoxy resin, and acrylic. Each one has its own pros and cons. Silicone is great for small projects but doesn’t hold up very well when exposed to moisture. Epoxy resins are strong and durable, but they take time to dry. Acrylics are quick-drying and easy to work with, but they don’t last as long as other types of adhesives.
- Mix The Grout
After choosing the best adhesive for your project, you should mix the grout according to the manufacturer’s instructions. Grouts come in various colors and textures. Some people prefer using natural-looking grouts, while others love bright colors. Experiment until you find something that works for you.
- Setting Your Tiles
Now that you have prepared the wall and mixed the grout, it’s time to set the tiles. You should place the tiles on the wall starting from the bottom and moving upwards. Use spacers between each row of tiles to ensure the gaps are consistent. After setting the first row of tiles, you should fill in the spaces left by the previous rows. Continue doing this until the whole wall is covered.
- Cleaning The Tiles
Cleaning the tiles after installation is an essential part of the process. It prevents dirt and dust from accumulating on them over time. You should clean the tiles at least once every two weeks. If you live in a humid environment, you should clean the tiles more often than usual.
- Seal The Tiles
Sealing the tiles protects them from water damage and keeps out humidity. Most sealants come in liquid form, and you should let them dry before applying them. Letting them dry ensures that the sealant gets applied evenly.
Conclusion
Tiling a bathroom takes some preparation and planning but it should not be too difficult if you follow these simple steps. By following these steps, you won’t end up spending hours trying to figure things out. Instead, you can focus on enjoying the finished product instead.